Free Cloud Solutions with The One Hosting Plan

Installing Nextcloud

Now you know how beneficial Nextcloud can be to your company and can’t wait to get started with Nextcloud. Luckily, installing Nextcloud is a breeze with The One Hosting plan because of Cpanel. There is an app installer in Cpanel known as Softaculous which contain a collection of all the popular scripts including Nextcloud.

Server Preparation

Before you proceed with the installation, you might want to prepare a few things first. First, it is advisable to install Nextcloud in a subdomain. Thankfully, The One Hosting plan allows you to create unlimited subdomains.
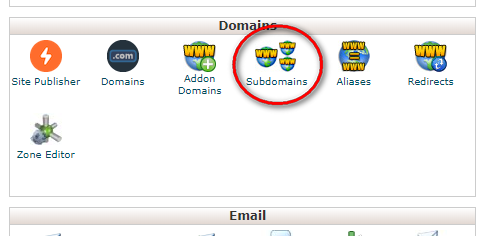
To create your subdomain, login to Cpanel and look for Subdomains icon under the Domains section.
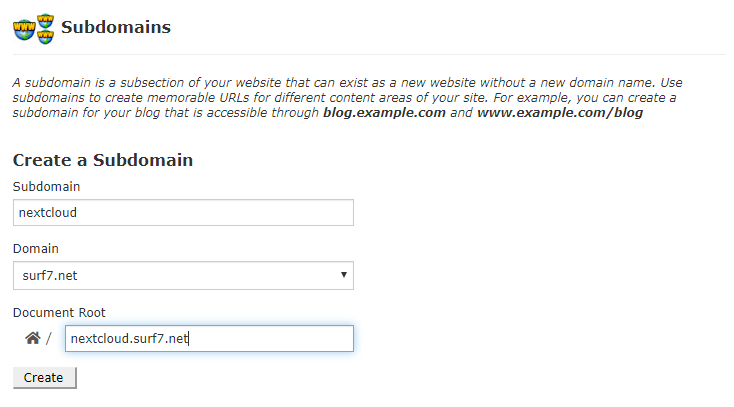
Enter the preferred name in the Subdomain field. I suggest something obvious such as nextcloud, nc, cloud, etc… The Document Root will be filed automatically. Click Create.

After that, you need to make sure you are using PHP version 7.1 and above.
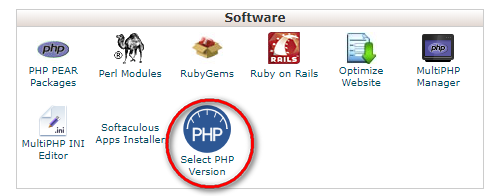
Look for “Select PHP Version” under the Software section
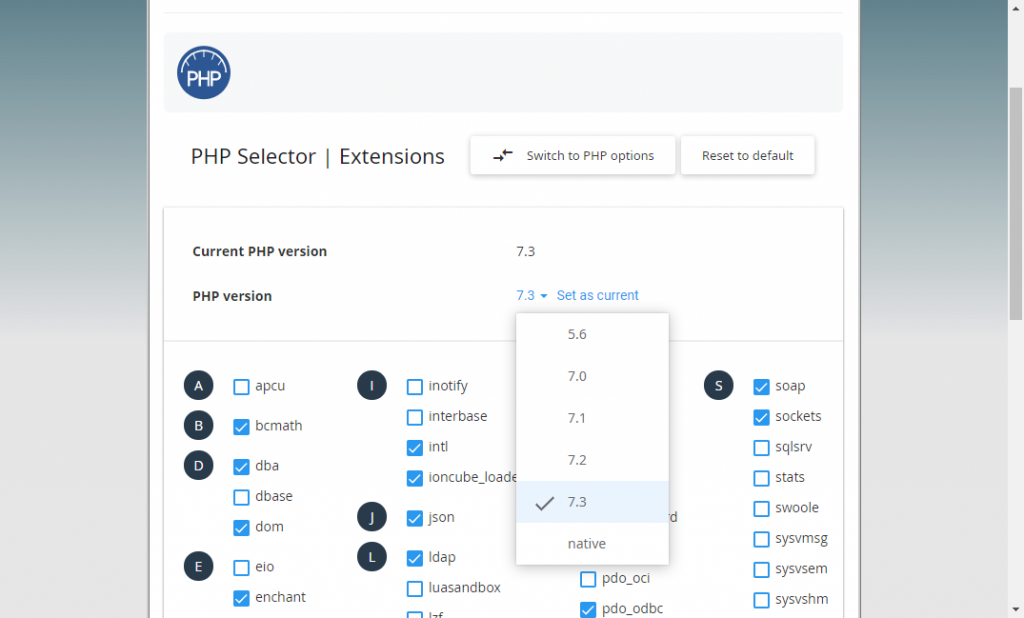
Select the latest PHP version. In this case, 7.3. Then click on “Set as current”.

After that, you need to enable a few modules recommended by Nextcloud. They are…

  • memcached
  • opcache
  • imagick
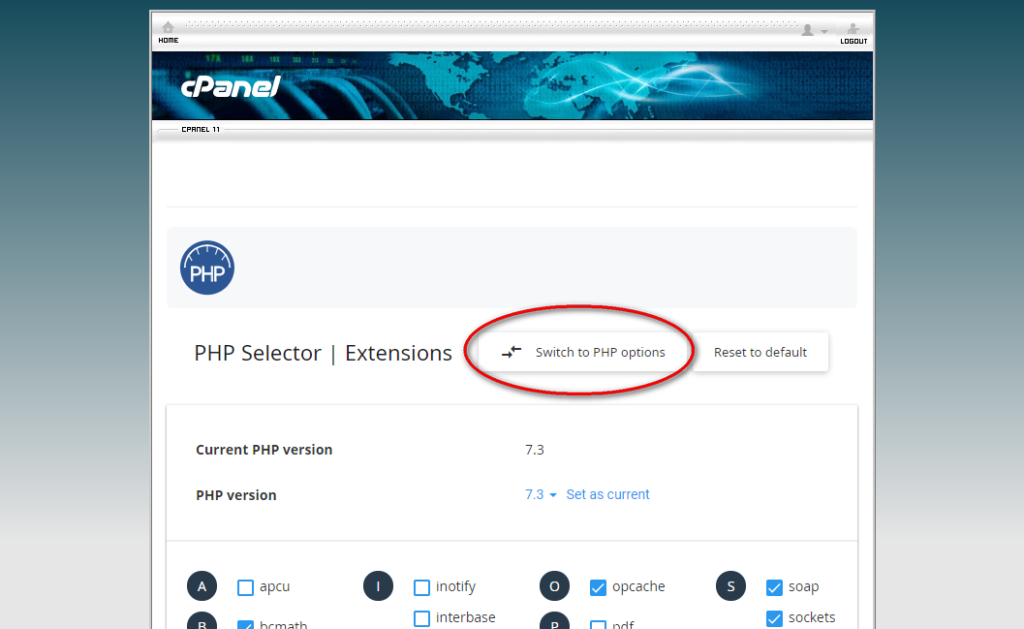
Then click on Switch to PHP options
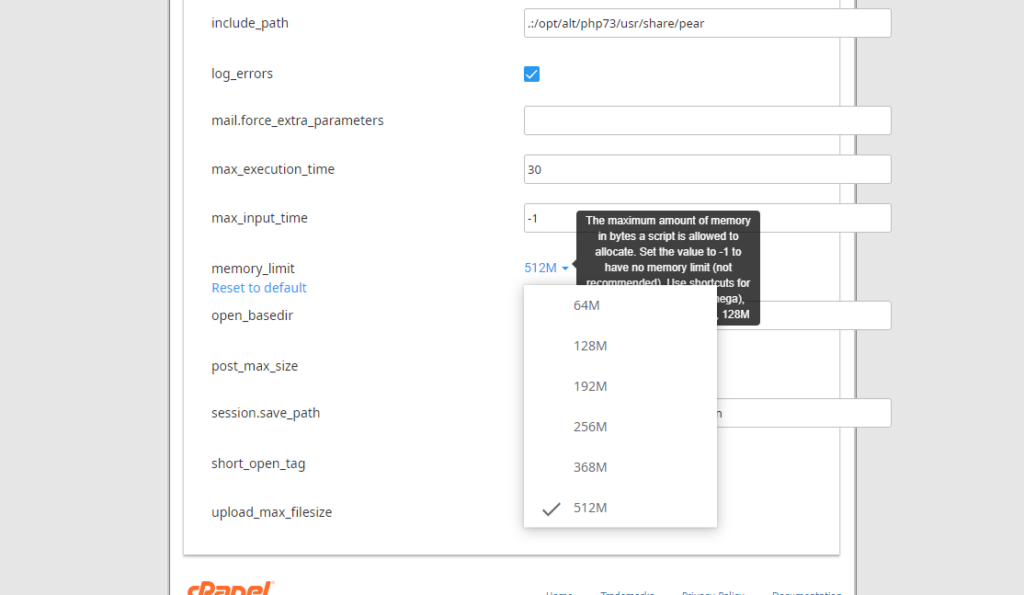
Change memory_limit to 512M

Once you have created the subdomain and change to the required PHP version, you can proceed with the installation of the Nextcloud script.

Install Nextcloud with Softaculous
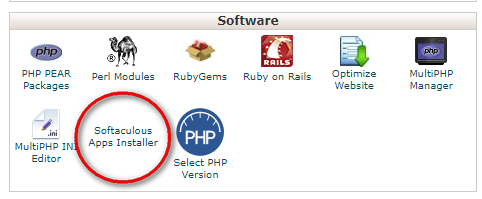
Look for “Softaculous Apps Installer” under the Software section in the Cpanel
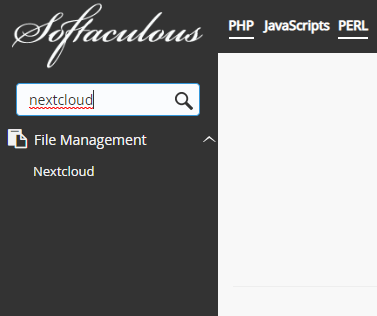
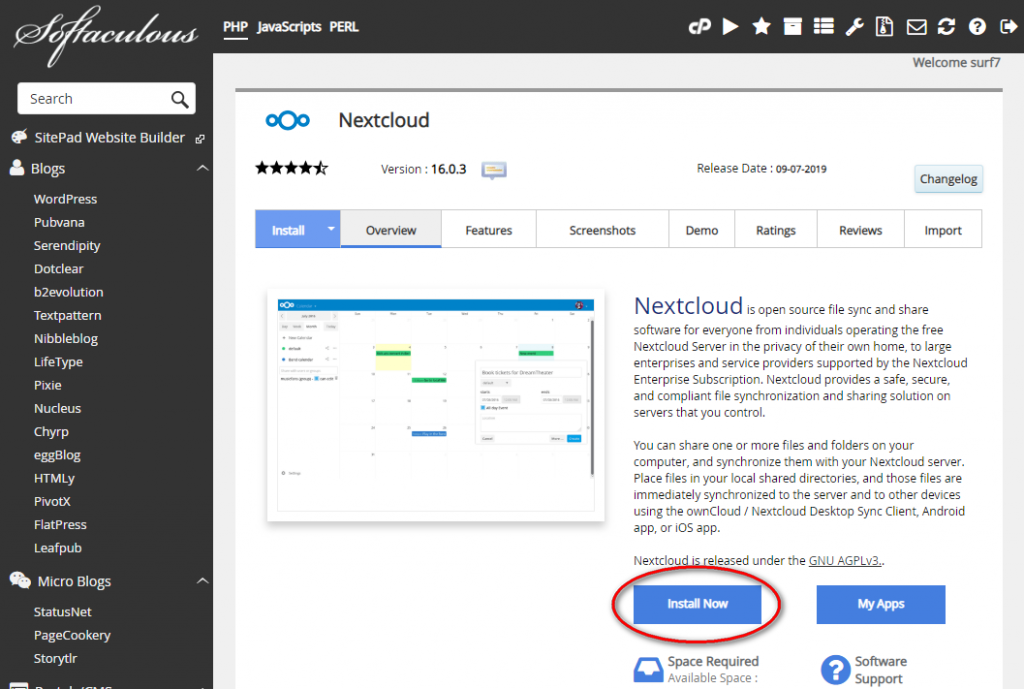
Search for Nextcloud in the search box under the Softaculous logo. Click on Nextcloud.
Click Install Now
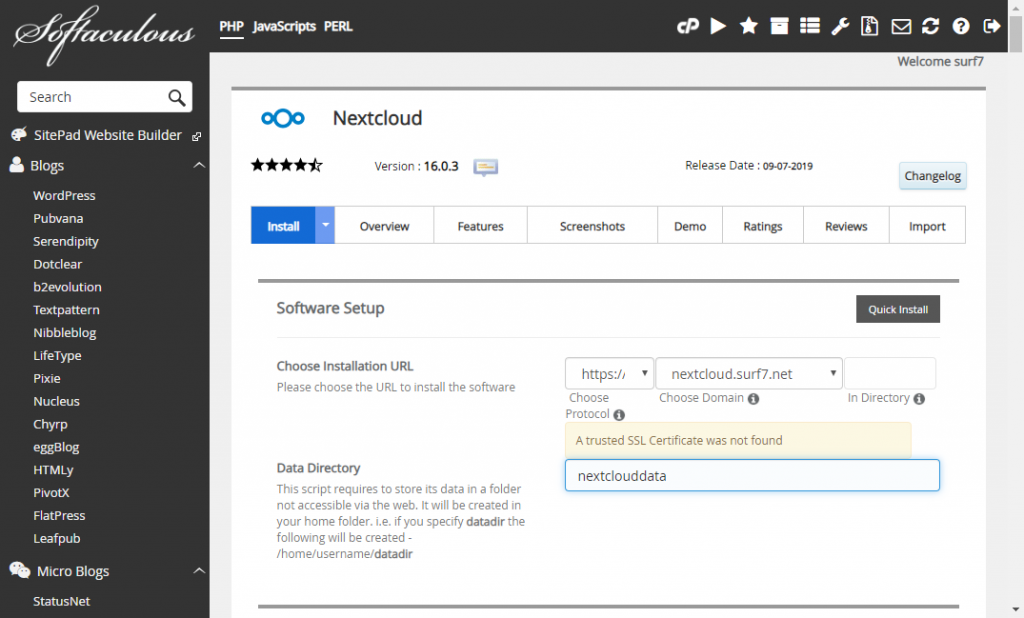
Under Software Setup section, for “Choose Installation URL”, select https://, then the newly created subdomain and leave the “In Directory” empty. If you see “A trusted SSL Certificate was not found” warning, you can ignore it. Usually it will resolve by itself after a while. Use the default Data Directory value.
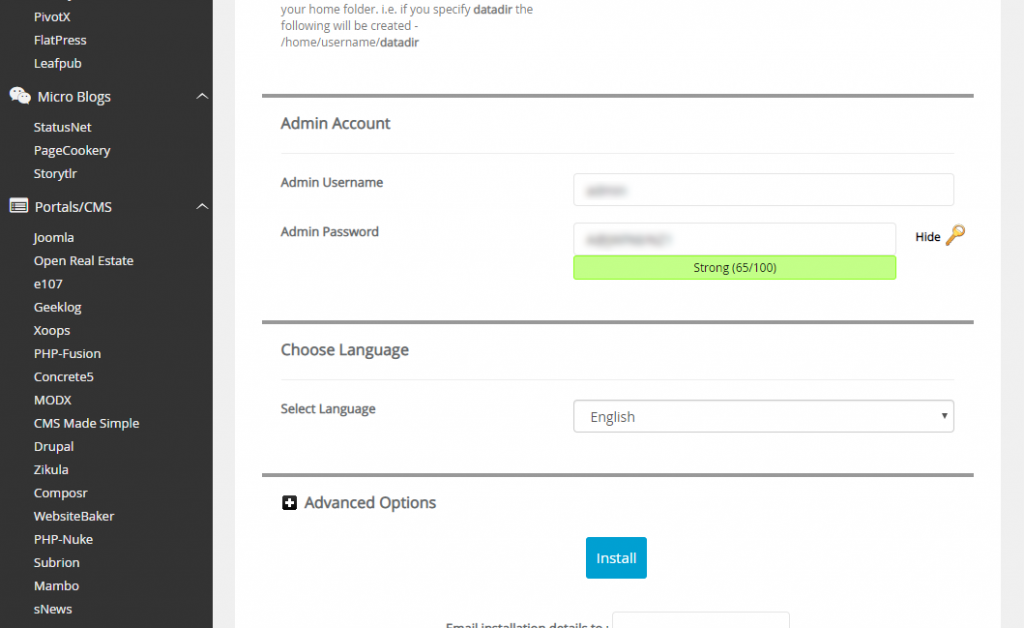
Enter your preferred admin username and password. I suggest that you don’t use the default username; admin for security reason. Then select your preferred language.
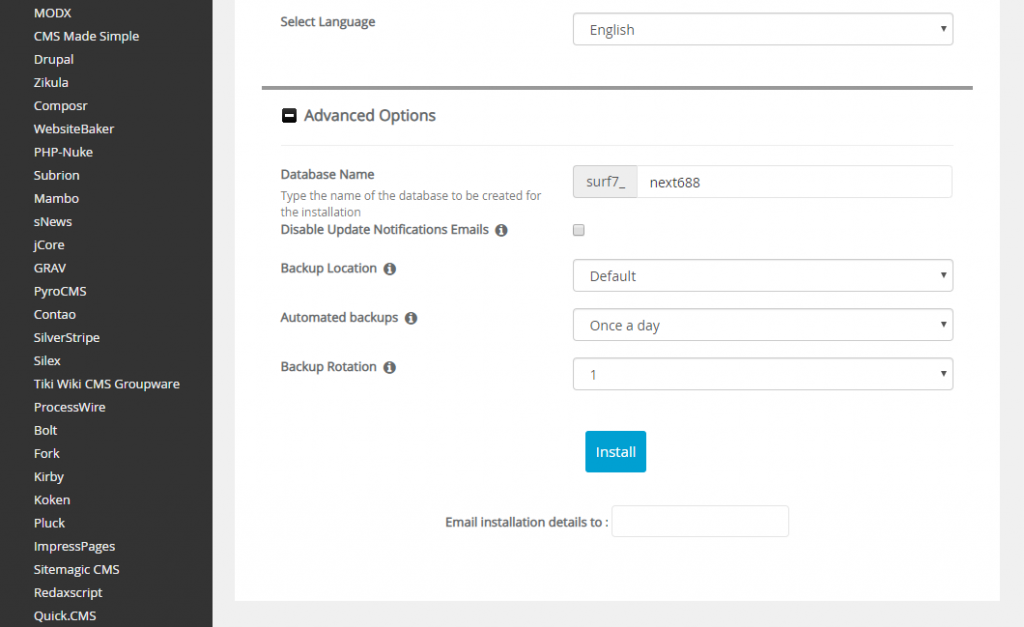
Click on Advanced Options. You are advised to setup automated backups. Finally click Install.
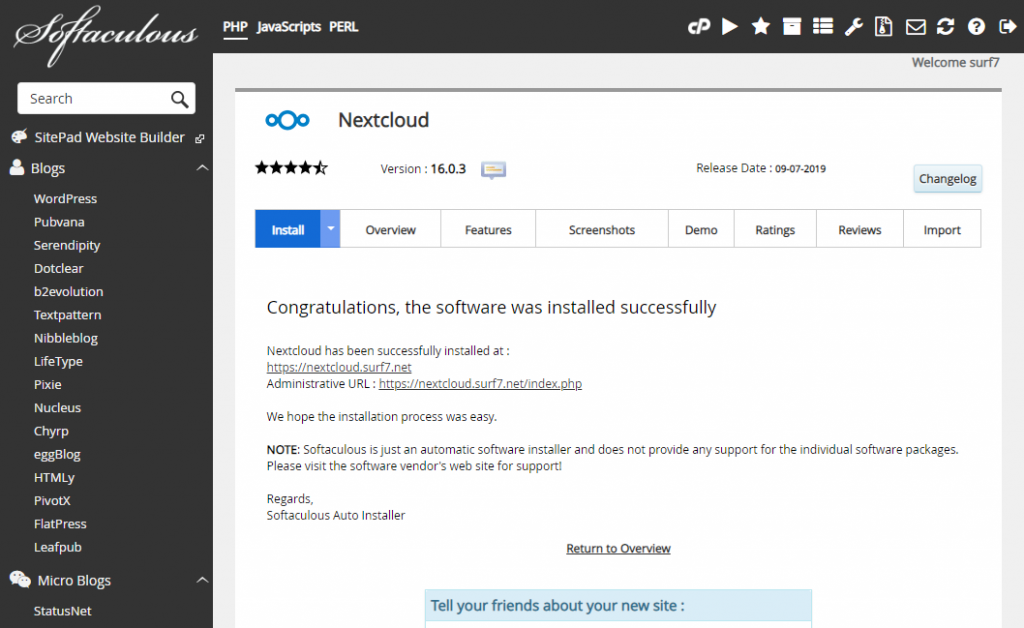
If everything goes smoothly, you should see this success message.
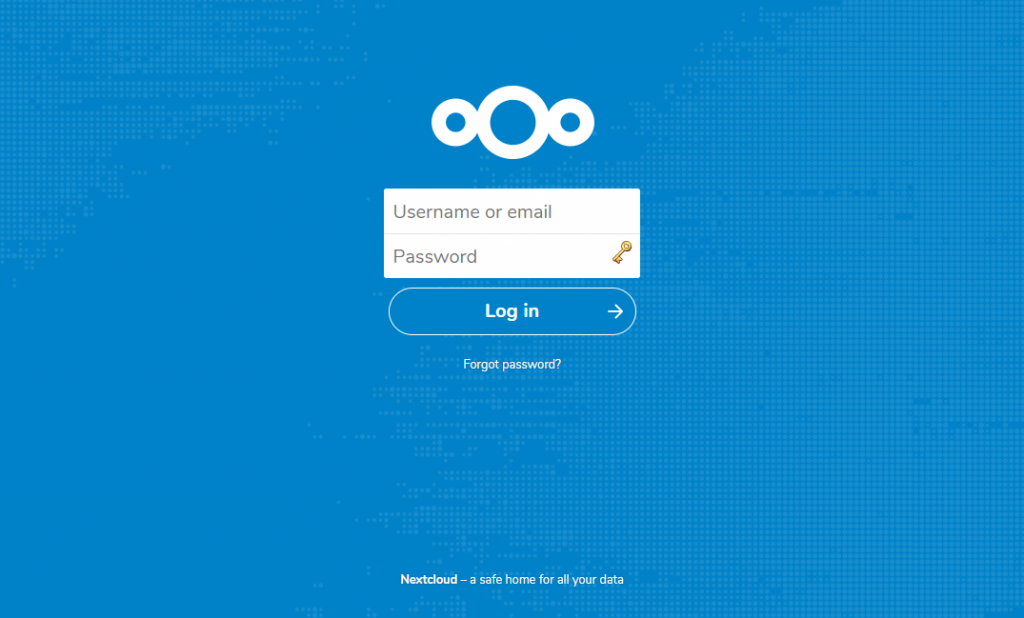
This is what you will see once you go to the subdomain URL. Enter the username and password that you have chosen during the installation process.

Setup Strict Transport Security (HSTS)

For enhanced security, it is recommended to enable HSTS. To enable HSTS, open the Cpanel File Manager and then edit the installation’s .htaccess file. Add this line to the bottom of the file.

Header set Strict-Transport-Security "max-age=31536000" env=HTTPS

Save the file and exit the File Manager.

The installation of Nextcloud is now done. You can proceed to setup Nextcloud to make it works for your office.

Next: Setting Up Nextcloud >>

Pages: 1 2 3 4


Comments

Leave a Reply

Your email address will not be published. Required fields are marked *